Tournaments generator
WHY
The motivation for starting this project is not another one than my curiosity about the mobile applications. It is obvious that the way of consuming technology has changed over the last few years and it is increasingly being done through a mobile device. For that reason I wanted to explore how the mobile apps work and how I can build one from scratch. I did some Android tutorials, but as they are changing a lot of things when releasing new versions and my idea was to build something generic for all devices, I decided to give it a try to Flutter.
I was between React Native or Flutter, but after reading some pros and cons, I’ve decided to ally myself with Flutter. I started reading their documentation and it was super similar to Android (they are using Dart in the bottom) and I started remembering my old days on the Android tutorials and I like, so I continued. After a few days reading only technical documentation, I continued with the “hello world” app tutorial they provide in the website. And finally, I was ready to start my own project.
For the time the global pandemic started, me and my friends started a FIFA 20 league on PS4 to distract ourselves in the afternoons/nights. Initially it was just playing and nothing else, but then we started having a Power BI dashboard for statistics, a YouTube channel to share the games live and then store them there and a Twitter to tweet the updates in the classification every week. The first league was created manually and a bit of pain and super static, so I’ve decided to use that topic to create an app that helps us to manage the second league creating the league, managing our teams and matches there, notifying the results and showing more detailed statistics inside.
WHAT
First of all I wanted to put all the real FIFA 20 information inside the website related with leagues, teams and players. For that I found a few websites that have that information open and free, but they haven’t an API for consuming it. The idea of copying manually was tempting a lot, but I preferred to write a simple crawler in Python using the library BeautifulSoup with the css-selectors it provides. Doing some tweaks here and there, at the end I ended up having 3 json files, one for each topic I wanted initially so all perfect!
Then in order to introduce all that information in the database the idea was to create a command line tool that reads those files and generates the corresponding SQL statements and then generate the corresponding migration files.
I’ve chosen Go as the programming language for the API and I’ve created a cmd that allows me to do the desired idea. The database would be PostgreSQL so the “inserts” have to be according to its syntax.
With all the initial data ready, I’ve started to design the rest of the Database and the possible endpoints need it for manage all that information. I’ve chosen mux for the HTTP for it’s simplicity but powerful in comparison with the standard lib one (just only for the parameter parsing it’s worth it…). As I wanted to explore more the mobile app side than the server side, I just organized the code using the Layered Architecture grouping the items by function and used GORM as the ORM for simplify the query and the mappings between the database and my models.
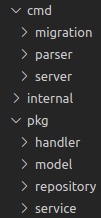
Inside the cmd folder I’ve created different commands:
- migration: manages the migrations in the database
- parser: translates the json from the crawler into sql statements
- server: runs the server
Inside the pkg folder it’s easy to identify what the folders are doing by it’s own name.
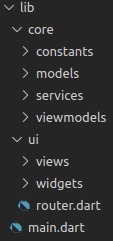
For the mobile app, I started putting all files inside a components folder but when it started growing it was a complete kaos to manage. After adding more complexity to the app I end up finding a clean way to organize the code, dividing it into two separate folders; one for the core and another one for the ui. Then inside of each one I also categorized the different type of components depending on their responsibilities and at the end the code (at least for me that I’m not a Flutter expert) ended up looking super clean and (without no doubt) more maintainable. Below the folder organization in a general view:
At the beginning when I started coding and watching the results all was super fancy and I thought it was easier than expected. Connecting the app with the API was just a matter of knowing how to use the http library and the get or post methods was connected with no problems.
    var client = new http.Client();

    String jsonBody = json.encode(user.toJson());
    var response = await client.post("$_baseUrl/token",
        headers: {"Content-Type": 'application/json'}, body: jsonBody);

    if (response.statusCode == 200) {
      return User.fromJson(json.decode(response.body));
    }
The unique problem I’ve faced there is that I was running the apps from the Android Emulator; that means it was running in a virtual machine so the IP was not my local one and cannot access the localhost. After a bit of research I’ve found the correct one and all worked correctly.
The problems started when I wanted to pass information between components, and refresh the view depending on that information, or even better, not refresh if nothing changed when I enter again into a view (for example going from a list to a detail view, and coming back again to the list). After a day reading in forums about the same problem that I was facing, I’ve found the package Provider and all seemed easy and the holy grail for everything, but it wasn’t.
The real pain just started there! It took me some days to really understand how it works. The initial Provider it’s easy to understand and you use it and it works, but then you want to change just a small part of the view, or you want to rebuild the entire one, or you want to modify some values in a view A and then go to view B and see the changes there, and all that examples it’s coded completely different and you have to know first of all that there are one way for each case of doing things and second you have to know how to do it. At the end I used the Provider, the ProxyProvider, the StreamProvider and the ChangeNotifierProvider.
The project is not finished but for now is On Hold with the following functionalities:
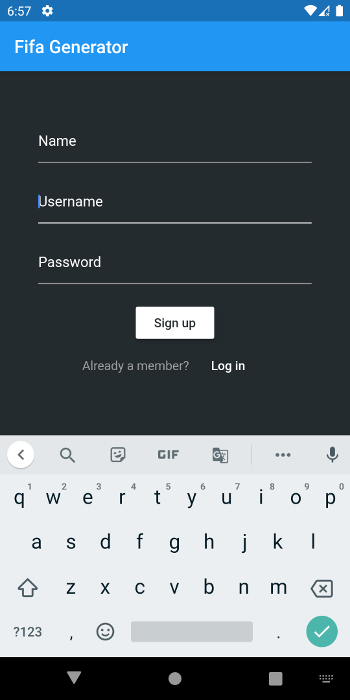
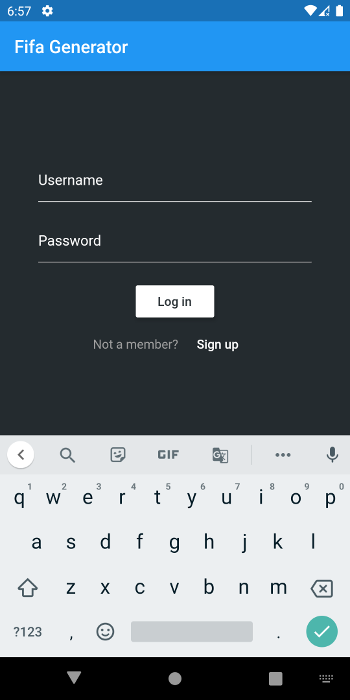
Initially the user can switch between the signup/login views.
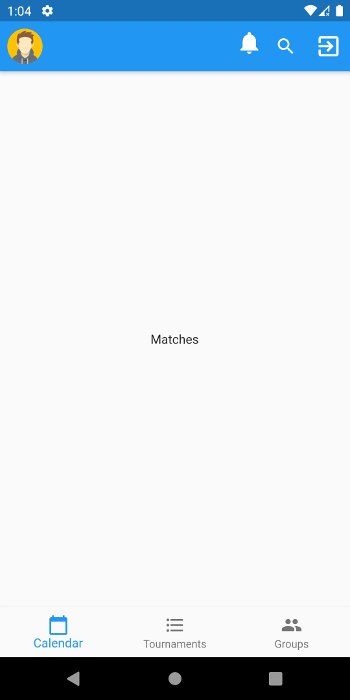
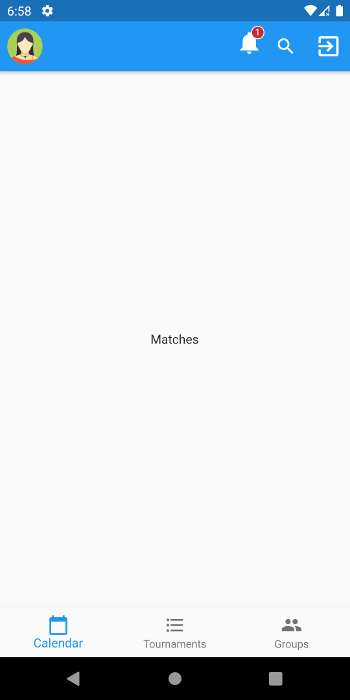
Once the user is inside the application it has different tabs where the next Matches he has to play, the Tournaments that he is playing and the Groups where he is present and the members inside. On the top it has a navbar with a profile picture, a bell icon for the notifications, a lens icon for search other members and adding as his friends and the logout button to disconnect.
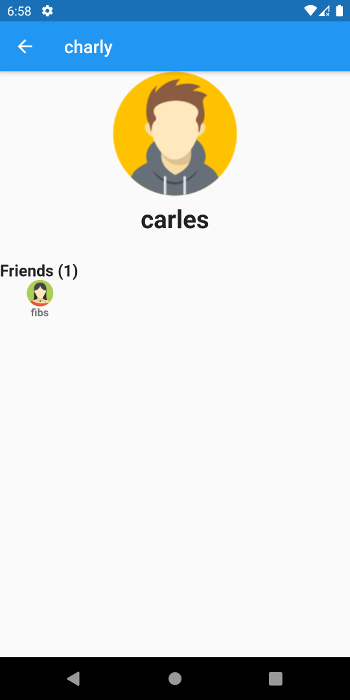
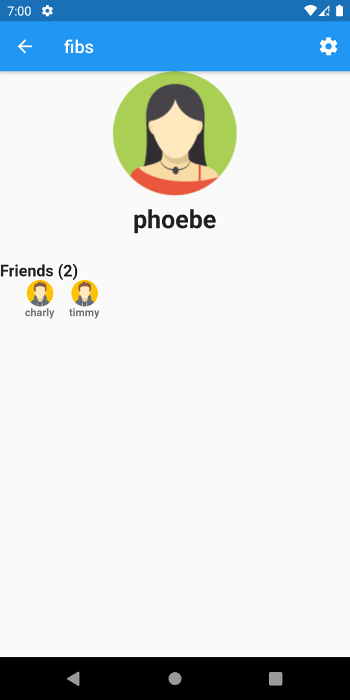
If he clicks on the profile picture it goes directly to the user’s profile where it displays the friends and where he can edit his personal information (name, username, profile picture):
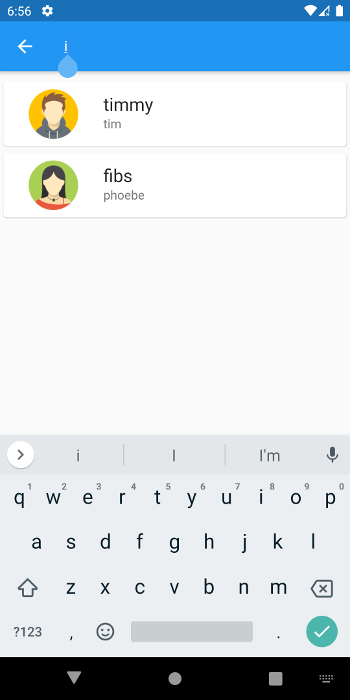
Pressing the lens icon, changes the view to the super searcher functionality which allows the user to find other people already in the platform, add them as his friends and then create groups, generate tournaments and play matches together. The searcher is a “like” search, so if any of the letters it introduces appears in some username, then it’s displayed there.
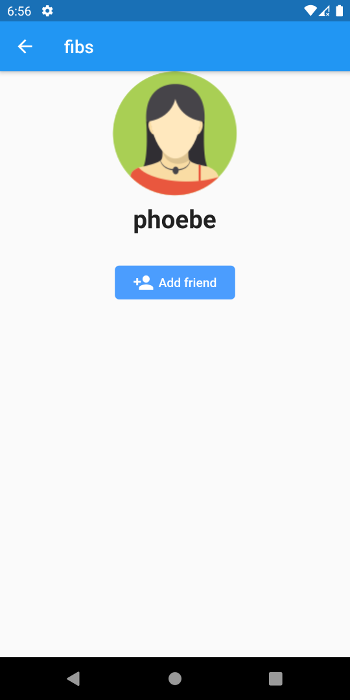
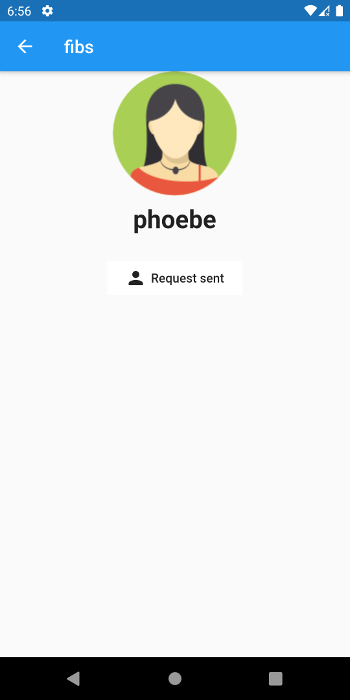
After that, if the user enters one profile that is not a friend, it will appear the button to add it and if it’s clicked, it will hide that button and display the information that there is already a request sent, waiting for the other user to answer it.
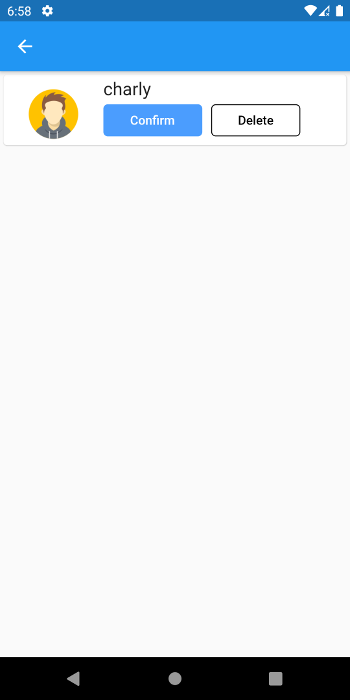
Acting as the other user, when logging in, the bell icon will display a new notification. Going inside appears as a friend notification and it can be answered from the list directly or going inside the “requester” profile and accepting/declining there. If the friend request is accepted, it will appear as a new friend in the user’s profile.
After a user has some friends, is the moment when he can create a group. For that the application has the third tab called Groups and a (+) button.
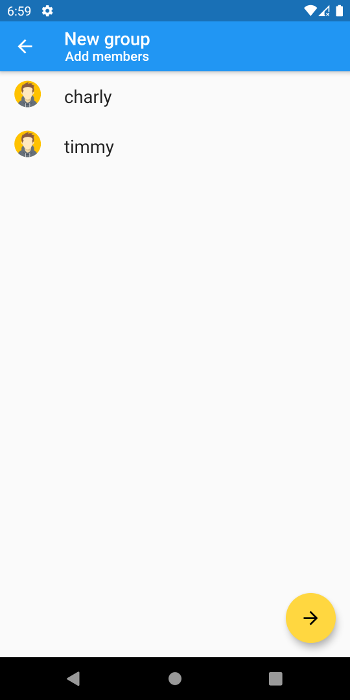
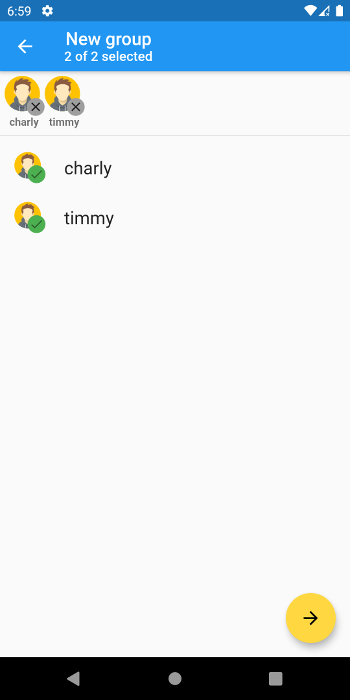
Inside the groups generator it will display the list of the friends on the top. As they are selected, they are placed in the list below, where they can be removed if desired; when all friends are selected it’s time to move to the next screen using the (–>) button.
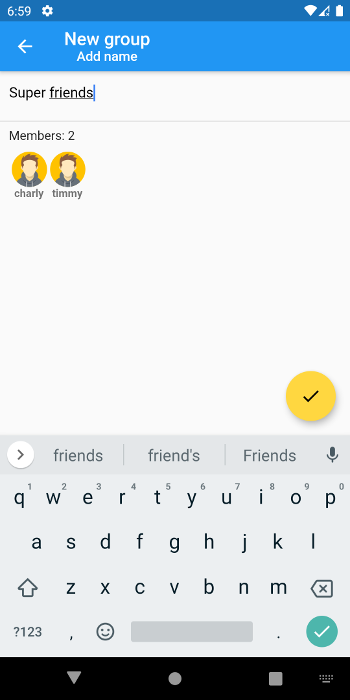
The next step is to put a good name for that group and then press the tick one to create the group.
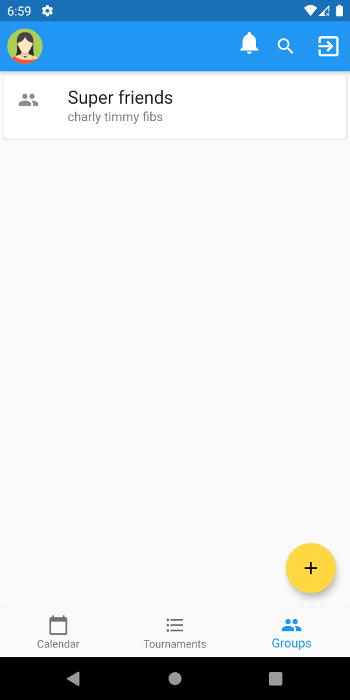
When the user is returned to the home view it appears the new group created and the members of it in the list.
From here what is missing is to create the Tournaments selecting the group and the members of that group that want to play, the number of teams for each member, the teams, the rounds, the type of tournament, etc. and then generate the calendar. Display the calendar in the Matches tab and inside each match allow the users to add the results. Also provide a classification and the statistics for each match and a grouped one for each fixture and a generic one.
FINAL THOUGHTS
With this proof of concept I had the opportunity to work in a complex application in terms of designing reusable components in a mobile application, calling to an external API to manage the information displayed in the app and learning how to use the Provider package for moving information between multiple views and control the state of the application in a simpler and effective way.
There is a lot more to learn regarding mobile development but I consider this project as an initial step to start with. I will do the missing views someday in order we can use it in real world, but I hope it’s not because we have another pandemic 😏
- Source code of the API in Go: https://github.com/charly3pins/fifa-gen-api
- Source of of the Flutter app: https://github.com/charly3pins/fifa_gen